How to Make Classic Hollandaise Sauce
One of the five French “mother” sauces, hollandaise is buttery, rich, and really showcases your skill.
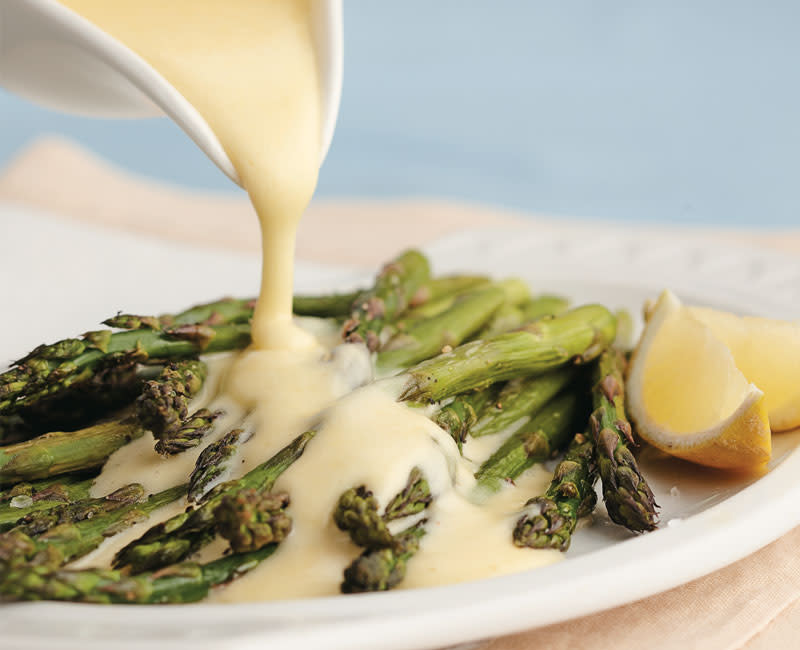
Velvety, buttery, and lemony, hollandaise is one of the classic French “mother” sauces for a reason — it’s oh-so-good. You’ve likely enjoyed it on eggs Benedict (or our Benedict Baskets), or atop steak, like on our Open-Faced Steak Sandwiches. It’s so delectable it enhances absolutely everything it touches. But making classic hollandaise requires a little skill, and takes careful preparation and practice. Sure, you can always whip up a quick hollandaise in the blender, but your sauce will be thinner, not quite as velvety, or have the same body of hollandaise made the classic method.
Hollandaise gets that velvety texture and its rich, slightly tart taste from just four ingredients: butter, vinegar, egg yolks, and lemon juice. To make it, you’ll just need to know the science behind making these ingredients work together. Then, we’ll walk you through the three-step process.
The Science
Hollandaise requires some skill because it’s an emulsion. This means you’re trying to combine two liquids that don’t normally go together — like oil and water. In this case, it’s butter and vinegar. Butter is composed of large fat droplets. To mix them with other liquids, you need to make them smaller by whisking, so another liquid can surround them. In hollandaise, vinegar surrounds the smaller butter droplets and holds them in suspension, creating a unified liquid.
This attraction is only temporary. To make it permanent (and hold the sauce together when you stop whisking), an emulsifier (or binder) is used: egg yolks. Egg yolks can work with both oil and water, so they end up as the perfect emulsifier.
Get Ready…
Read through the technique below and the Classic Hollandaise recipe carefully before getting started, and keep these three critical points in mind:
- In Step 1, get all your liquids warm (like a baby's bath, 105–110°).
- In Step 2, don’t overcook your egg yolks.
- In Step 3, whisk steadily and always in the same direction.
Step 1: Prepare the Ingredients
Each ingredient needs a bit of preparation before you get started. And because you can’t stop once you start, do all the prep before picking up the whisk.
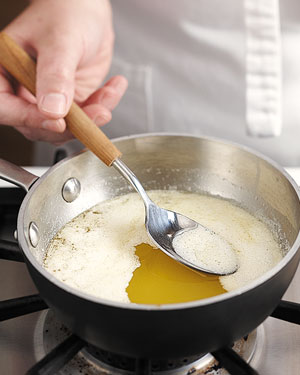
First, clarify the butter. You do this by gently melting the butter and then skimming off the layer of foamy milk solids that float to the top. This leaves behind the clarified butter, and a little water at the very bottom of the pan. Discard the solids — you won’t need them.
Next, boil a mixture of vinegar, water, and peppercorns, reducing the entire mixture to just three tablespoons. Because the peppercorns are for flavor only, strain and discard them.
Finally, using a balloon whisk and stainless steel bowl, you’ll whisk the yolks until they turn a pale yellow.
Remember, both the clarified butter and the vinegar reduction should be warm, but not hot, when you start adding them to the egg yolks. Varying temperatures hotter or colder can break the sauce, causing it to separate. You may also want a little warm water handy in case the sauce gets too thick.
Step 2: Cook the Egg Yolks
Since hollandaise is a cooked emulsion, you need to cook the egg yolks. But you need to do so gently to avoid scrambling them. To control the rate of cooking, and ensure gentle even heat, cook them in a double boiler — in your stainless steel bowl over a pan of simmering water — instead of over direct heat — making sure not to let the bowl touch the water.
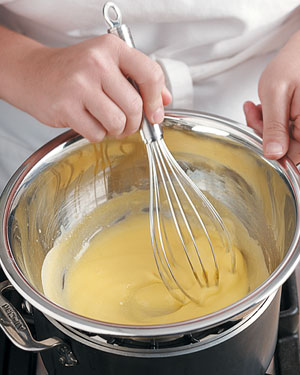
After the egg yolks have been whisked together, add the warm vinegar reduction and move the bowl onto the boiler. Gently cook and vigorously whisk the egg yolks. The thickness of the cooked yolk-vinegar mixture determines the sauce’s thickness, so pull it from the boiler as soon the whisk starts to leave trails. This should take about two minutes.
Remember, you don’t want to overcook the egg yolks. Just before you begin adding the butter in Step 3, whisk a bit of lemon juice into the egg yolks to stop the cooking.
Step 3: Emulsify the Sauce
To form the emulsion, whisk in the butter a drop at a time (too much at once can cause the mixture to separate) continuing to whisk, until it starts to thicken, then whisk in remaining butter in a thin stream.
Remember to whisk steadily and always in the same direction.
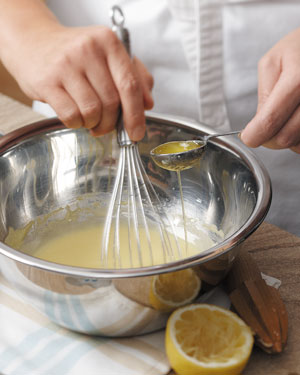
Because the entire mixture is off the heat as you’re adding the butter, it can cool too much. If that happens, return the bowl back over the double boiler and continue whisking in the butter. You’ll use all the butter, being careful not to add the water at the bottom of the butter pan. Don’t sweat it if a little ends up in the sauce — it won’t ruin it, only thins the sauce a bit.
Finishing Up
With the sauce nearly finished, assess the thickness. It should be thick, but pourable. If it’s not, add warm water a tablespoon at a time until it is. At this point, the sauce should be velvety and buttery but not popping with flavor — a good dose of lemon juice, salt, and a little cayenne will bring it to life. If something goes wrong along the way, no worries. Most hollandaise mishaps can be fixed.
“Small” Sauces
It’s common practice to make “small” sauces from mother sauces like hollandaise. This means once you’ve mastered the technique of making hollandaise, you can flavor it a number of ways to create other or “small” sauces. The most famous of hollandaise’s small sauces is Béarnaise Sauce. It’s flavored with tarragon and shallots and often served with steak. And Choron Sauce is a variation of that. It’s simply a béarnaise sauce tinted with tomato paste. Also perfect with beef.
Grab the Recipes
Now that you know the technique for classic hollandaise sauce, grab the recipes for complete measurements and instructions, as well as our favorite applications of hollandaise sauce:
- Classic Hollandaise
- Béarnaise Sauce
- Hollandaise in the Blender
- How To Fix Broken Hollandaise Sauce
- Benedict Baskets
- Open-Faced Steak Sandwiches
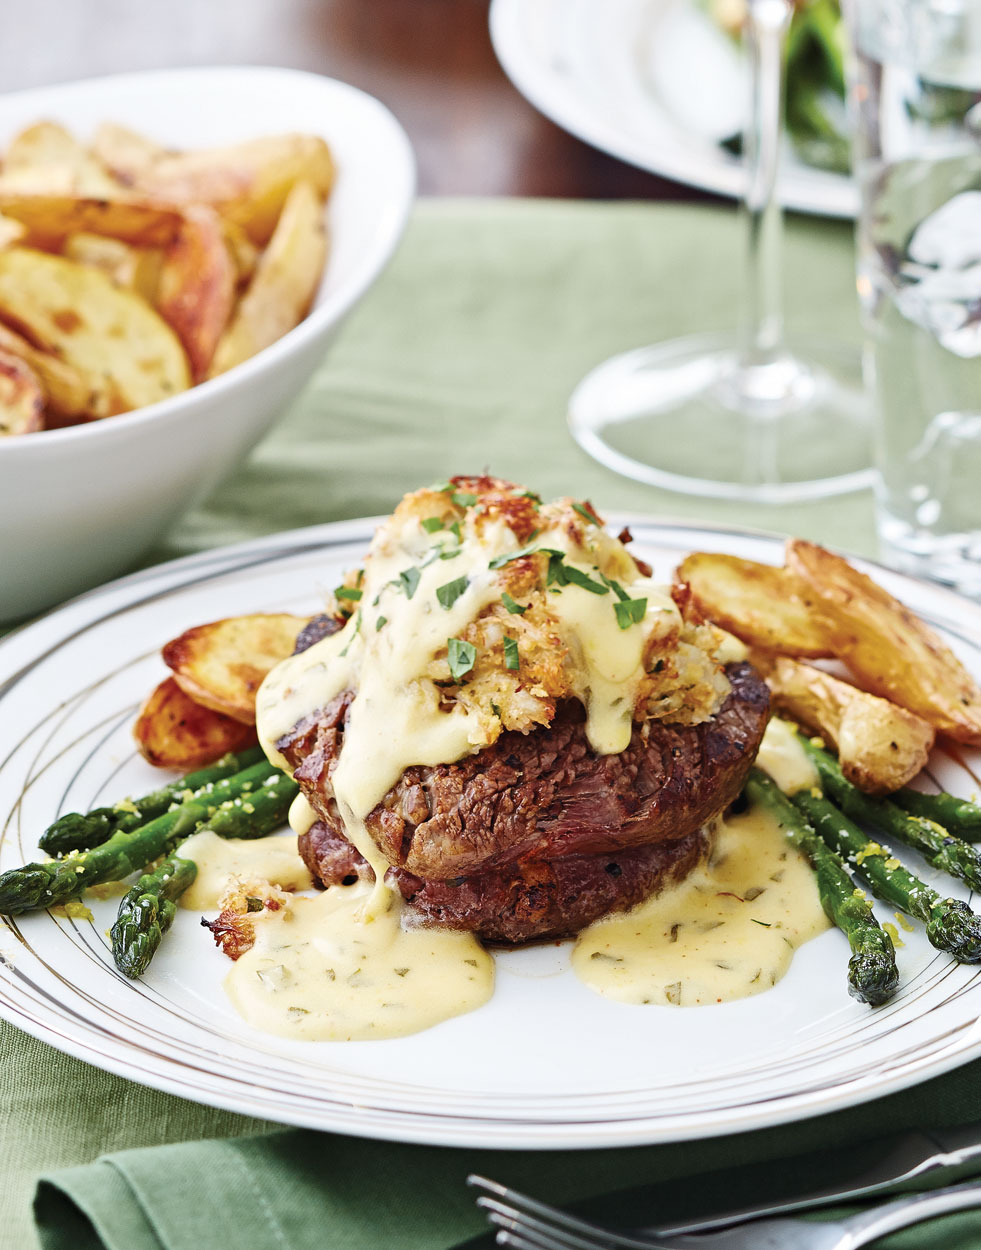
- Stuffed Filet Mignon Oscar
Like this article? Check out all of our How-To Cooking Articles & Videos, here.
Product Recommendations
Interested in cooking? Need some supplies?
Check out some of the tools we like. All products featured on Cuisine at Home are independently selected by our editors; we may earn an affiliate commission from qualifying purchases through our links.