How to Make Homemade Bratwurst
WHEN IT COMES TO GRILLING OUT, brats are often on the menu. And with more and more people looking to get back to the basics, making your own brats really isn’t a stretch. Plus, when you make them yourself, you know exactly what’s going into them, and they have tons more flavor than store-bought brats. Here's how to make homemade bratwurst.
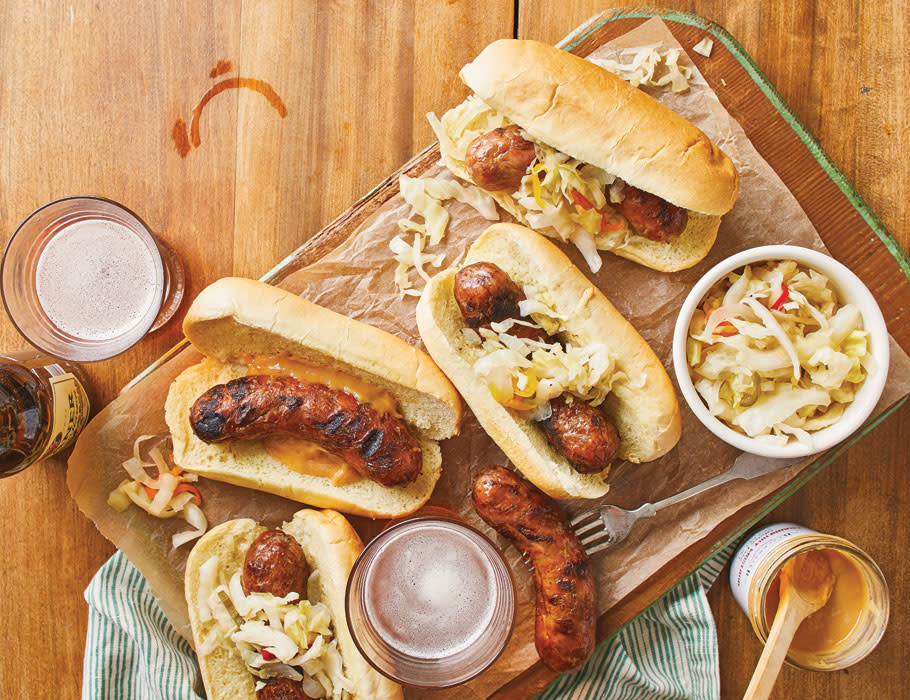
(Note: This post contains affiliate links. As an Amazon Associate, we earn from qualifying purchases made through affiliate links.)
But before getting started, there are a few things to keep in mind. Always sanitize your equipment and workspace. And chill all the equipment before using — if the fat gets above 60-degrees, it can melt out of the sausage, causing the brats to have a grainy, crumbly texture. Simply follow these steps to successfully make Classic Bratwurst.
Equipment: What You'll Need to Make Homemade Bratwurst
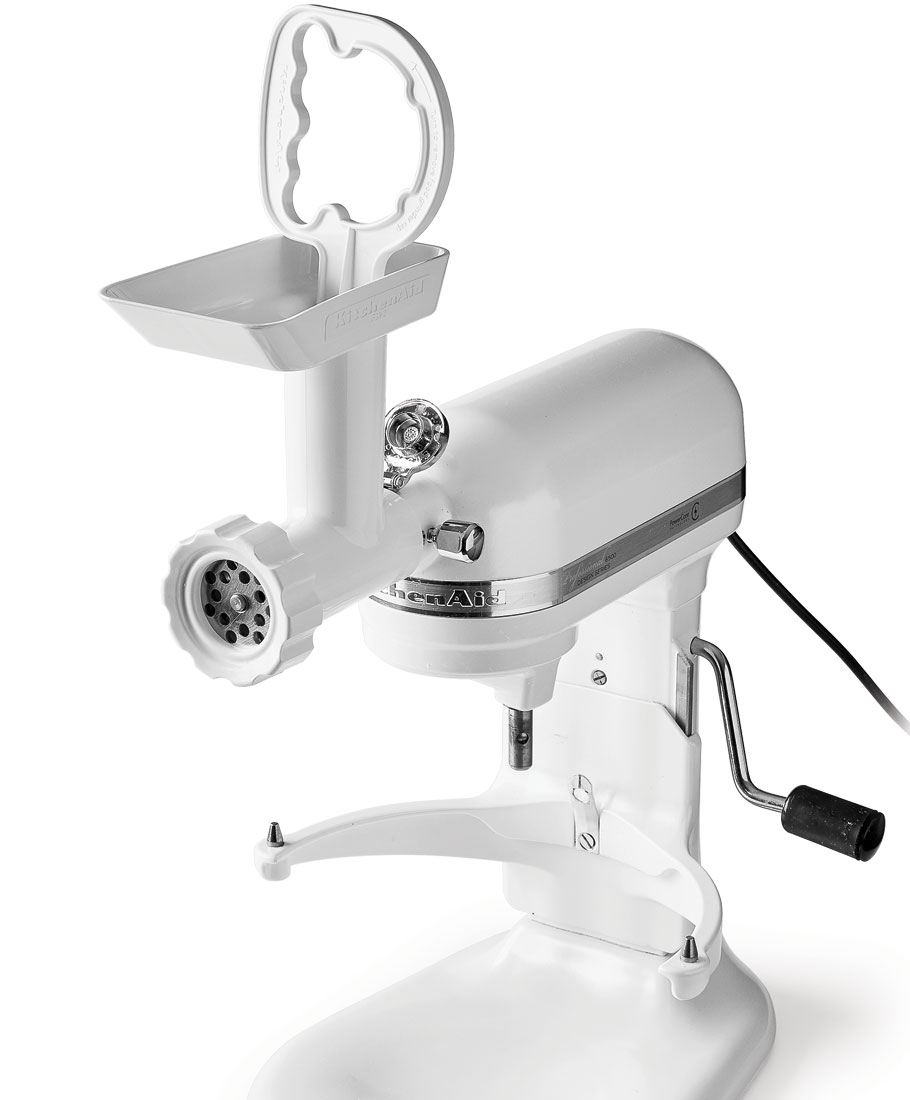 SAUSAGE GRINDER Whether you use an attachment for your KitchenAid stand mixer, or a free standing grinder, you’ll need a ¼-inch plate to grind the meat and fat.
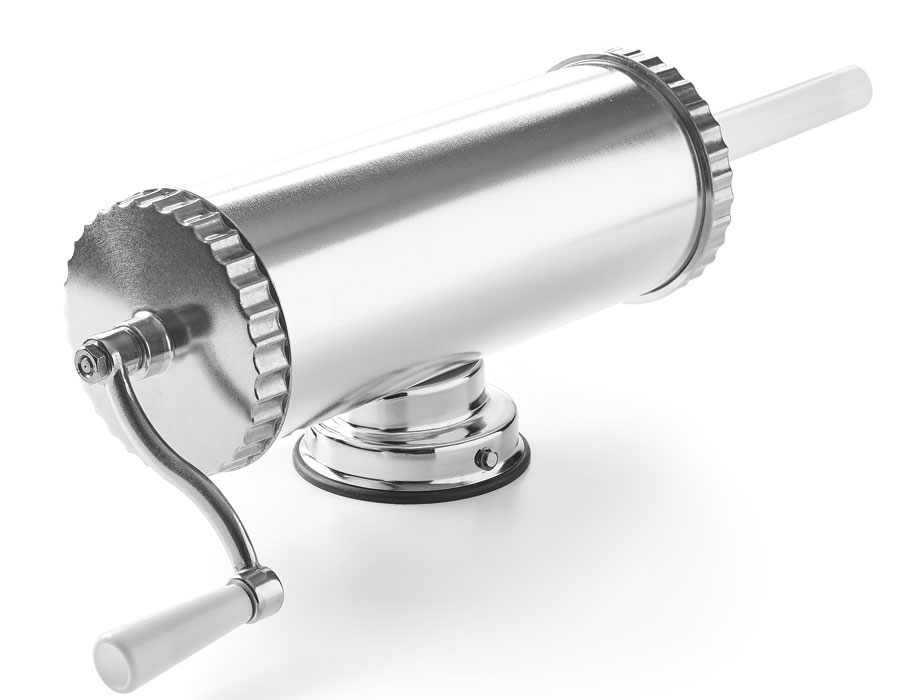 SAUSAGE STUFFER Whether you use a free standing sausage stuffer, or an attachment for your KitchenAid, you’ll need a ¾-inch stuffing horn.
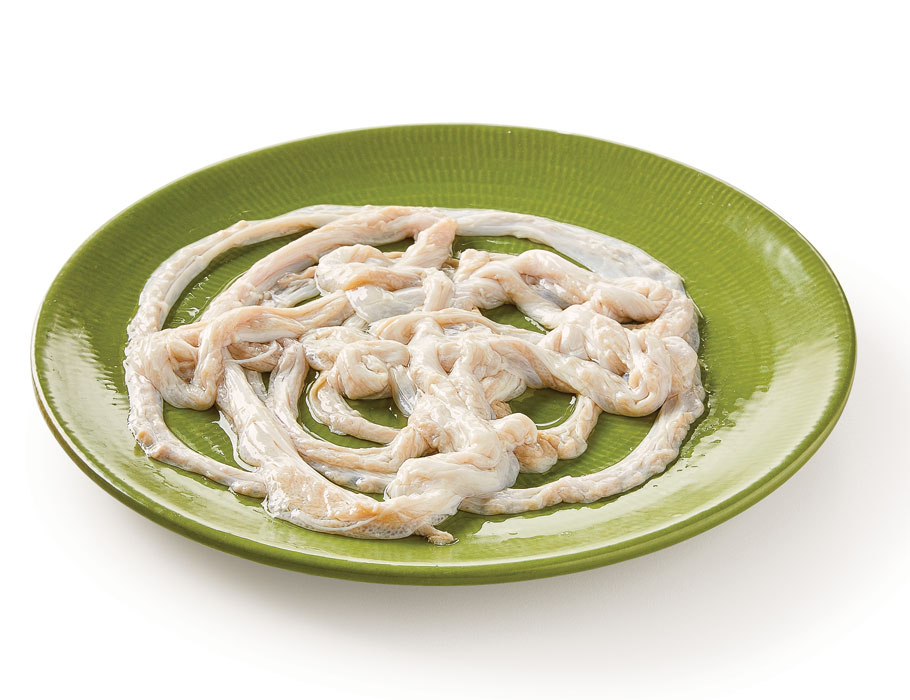 HOG CASINGS Medium-sized hog casings are standard for brats. Follow the package instructions for soaking and rinsing the casings.
Meats & Fats
Get the 411 on the best cuts to use.
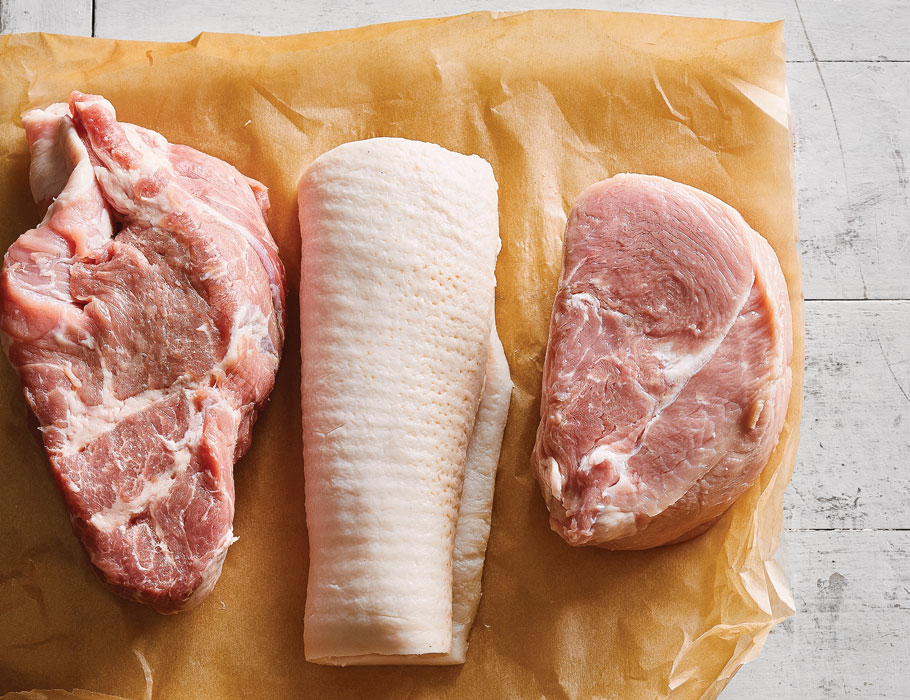 SHOULDER CUTS, like the pork and veal in the case of these brats, are going to be the most flavorful and the cheapest. If you’re having trouble finding veal shoulder, substitute ground veal, adding it to the pork and fat after grinding.
REMOVE AND DISCARD any connective tissue or other shady bits you wouldn’t want in your brats. Note: Don’t trim away the excess fat.
BACK FAT is your best choice for the additional fat needed for brats. It’s firmer than belly fat, making for a better texture.
BELLY FAT can be used if you can’t get your hands on back fat, but it’s generally considered too soft for sausage making.
Brat Timeline
DAY 1: Cut up the meat and fat, then measure out the spices and get to know your equipment.
DAY 2: Freeze the meat, prepare the casings, then grind and stuff the brats.
DAY 3: Grill and enjoy the fruits of your labor.
How to Make Homemade Bratwurst: Step-by-Step
Making your own brats may sound intimidating, but when you break it down, it’s really not scary at all, especially when it’s done over the course of three days.
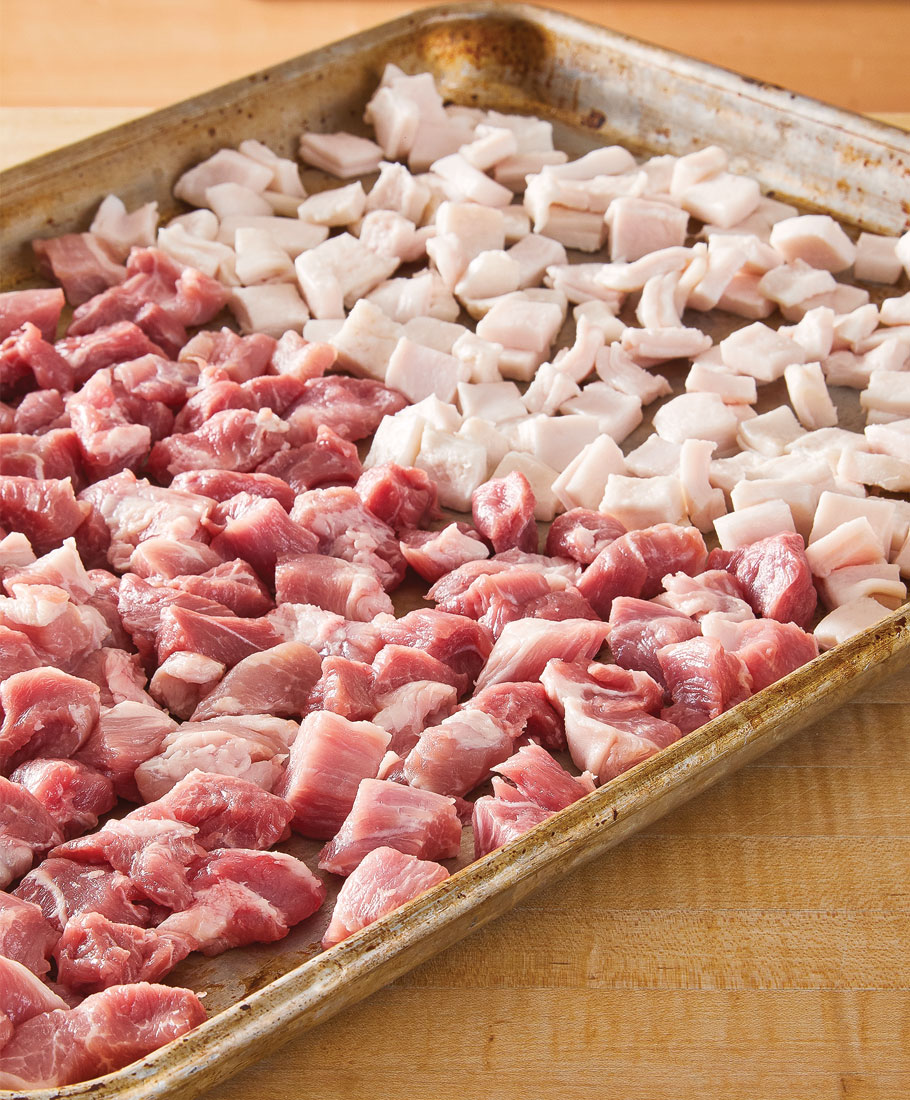 Meat and fat should be consistently cut into a ½-inch dice to be able to feed through the grinder properly.
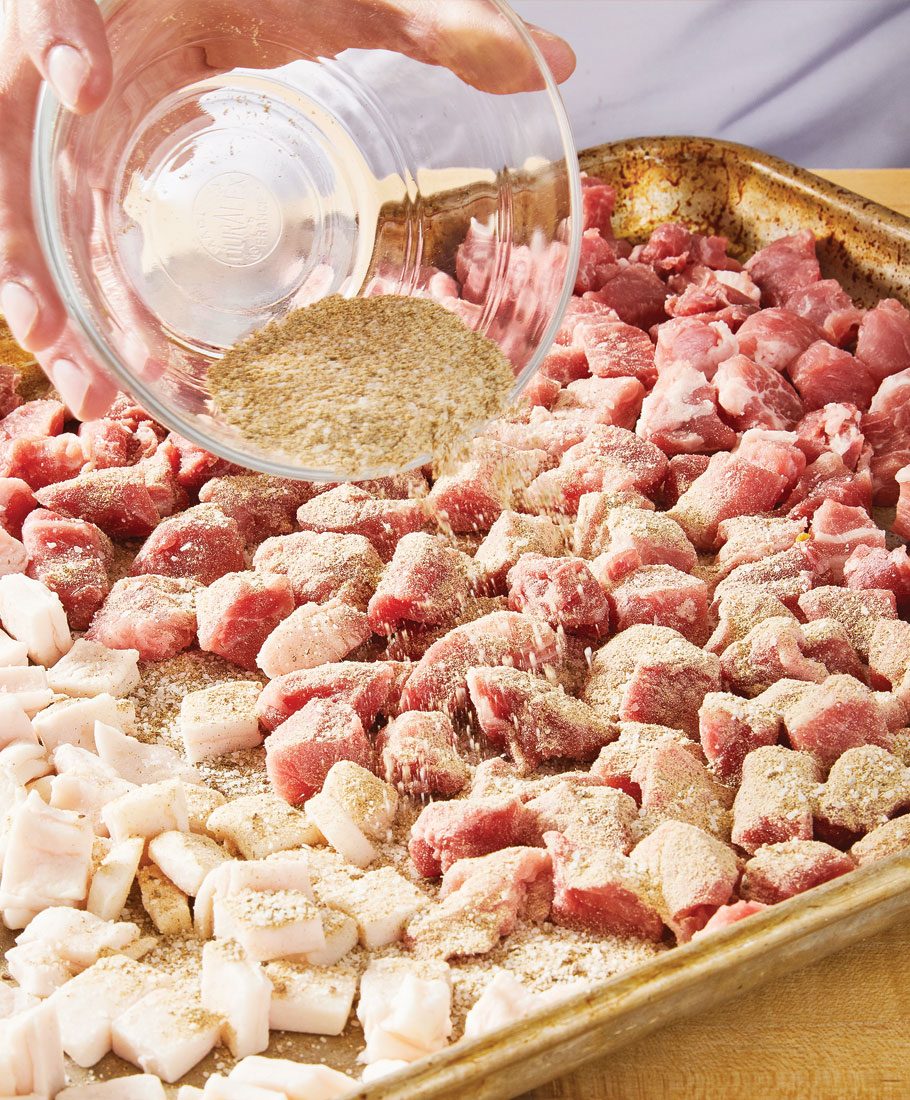 Toss the seasonings with the partially frozen meat and fat before grinding. Any seasonings that don’t adhere to the meat and fat should be added to the ground meat mixture.
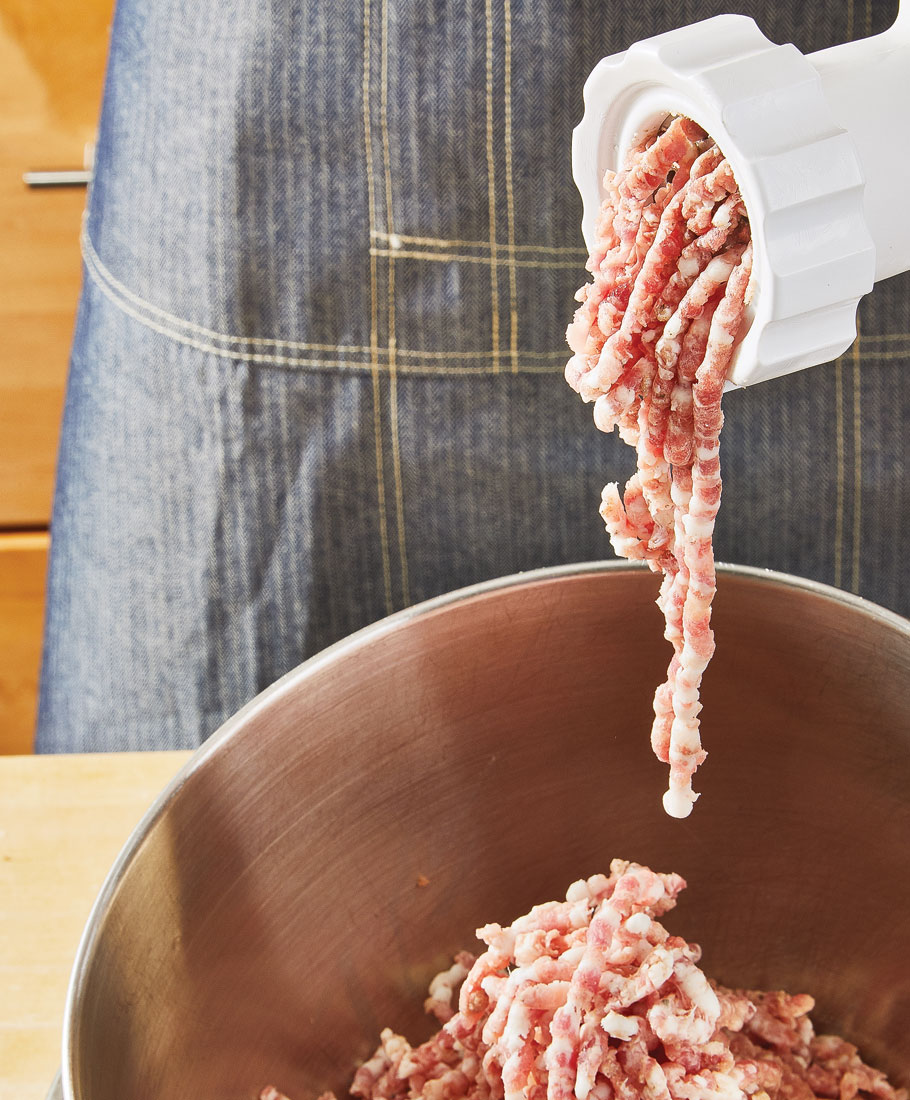 Partially frozen meat and fat should grind fairly easily. If any mixture squeezes out around the edges of the grinder, the meat isn’t cold enough — put it back in the freezer.
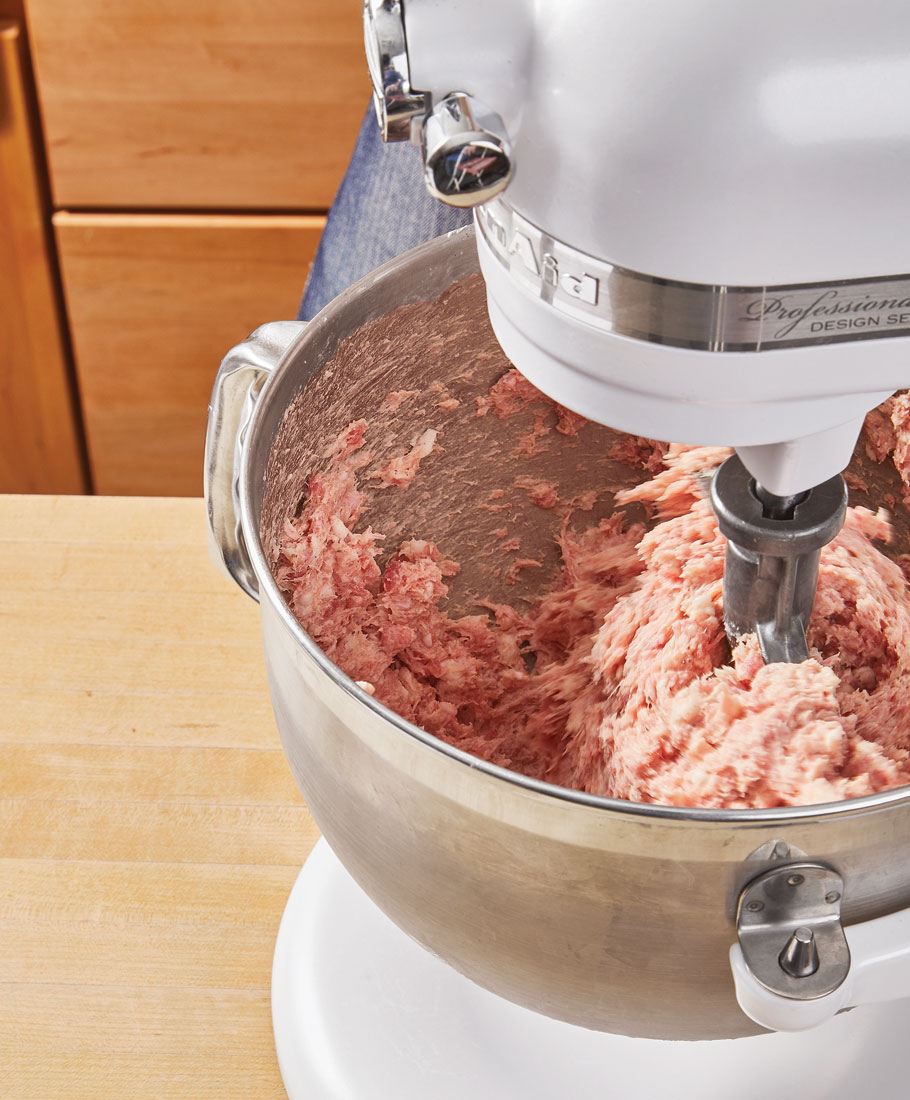 To emulsify the forcemeat and prevent a crumbly brat, beat the ground meat and fat with the egg and cream mixture until the forcemeat and sides of bowl look sticky.
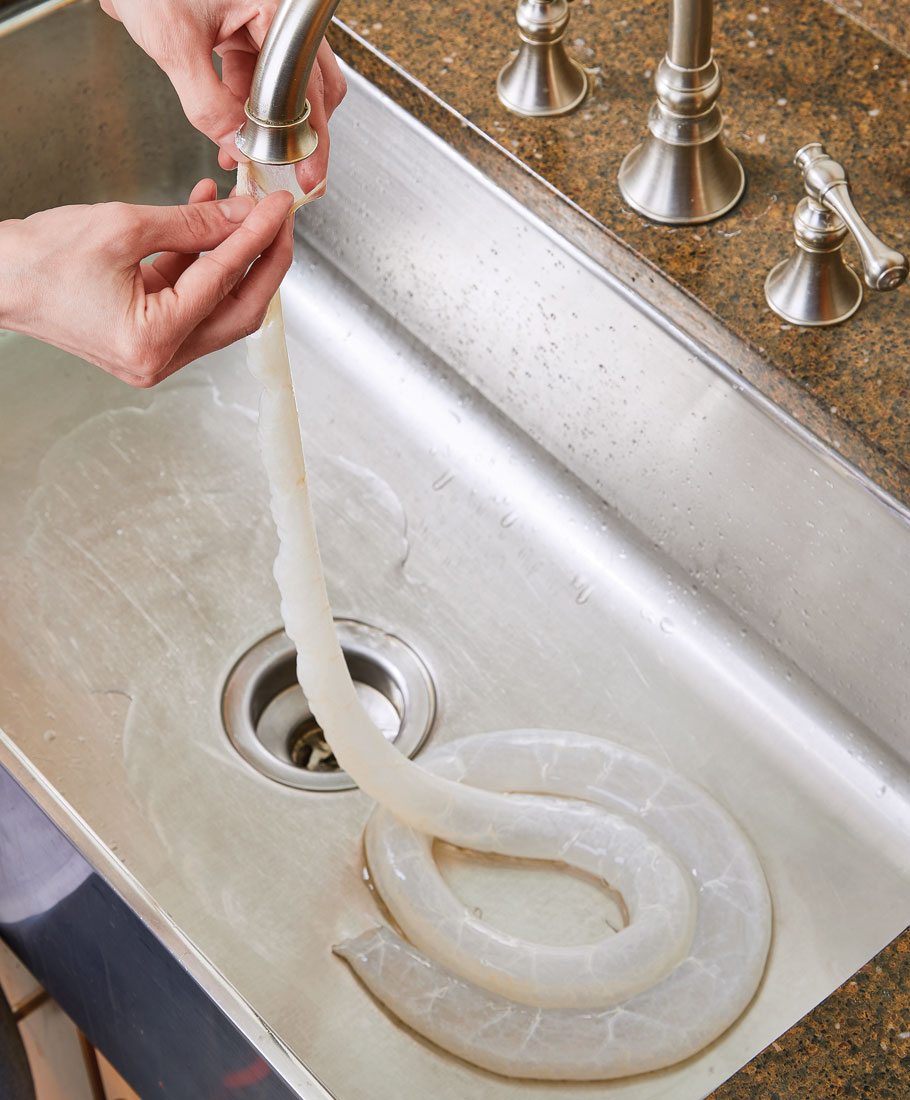 To ensure the casings are clean and easy to push onto the stuffing horn, be sure to rinse them by opening one end and allowing water to run from one end through the other.
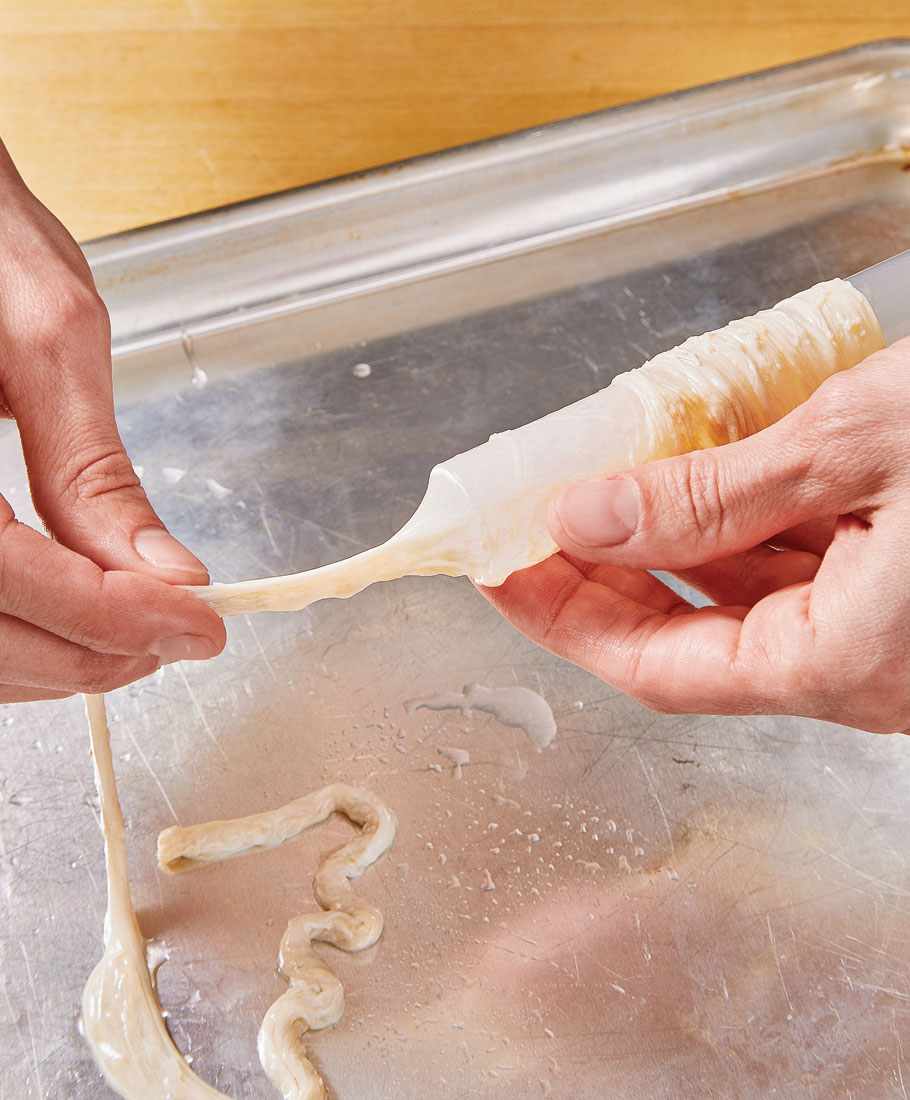 To prepare the sausage stuffer, slide a length of soaked and rinsed casing onto the stuffing horn, leaving an inch or two overhang to tie off at the end.
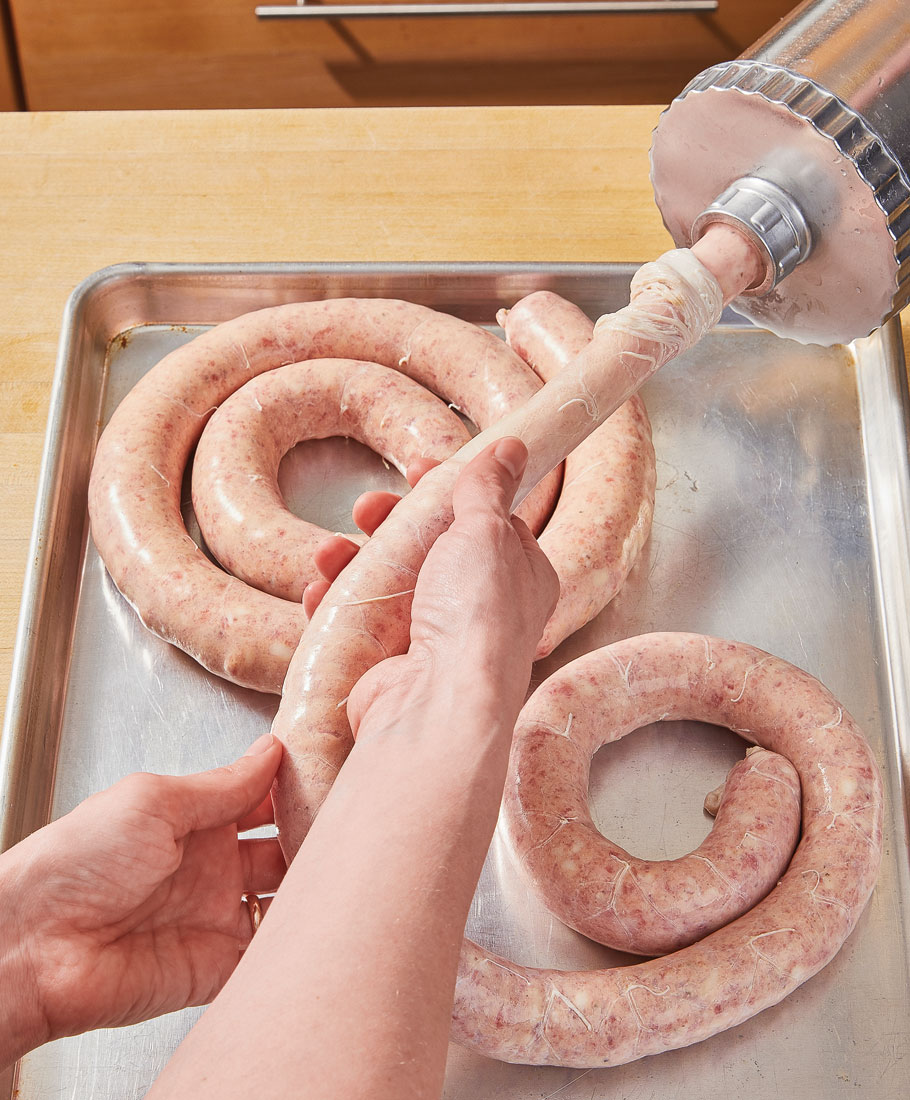 Use even pressure when stuffing the casings — the forcemeat should be snug. If it’s too tight, the casings could split when stuffing, linking, or grilling.
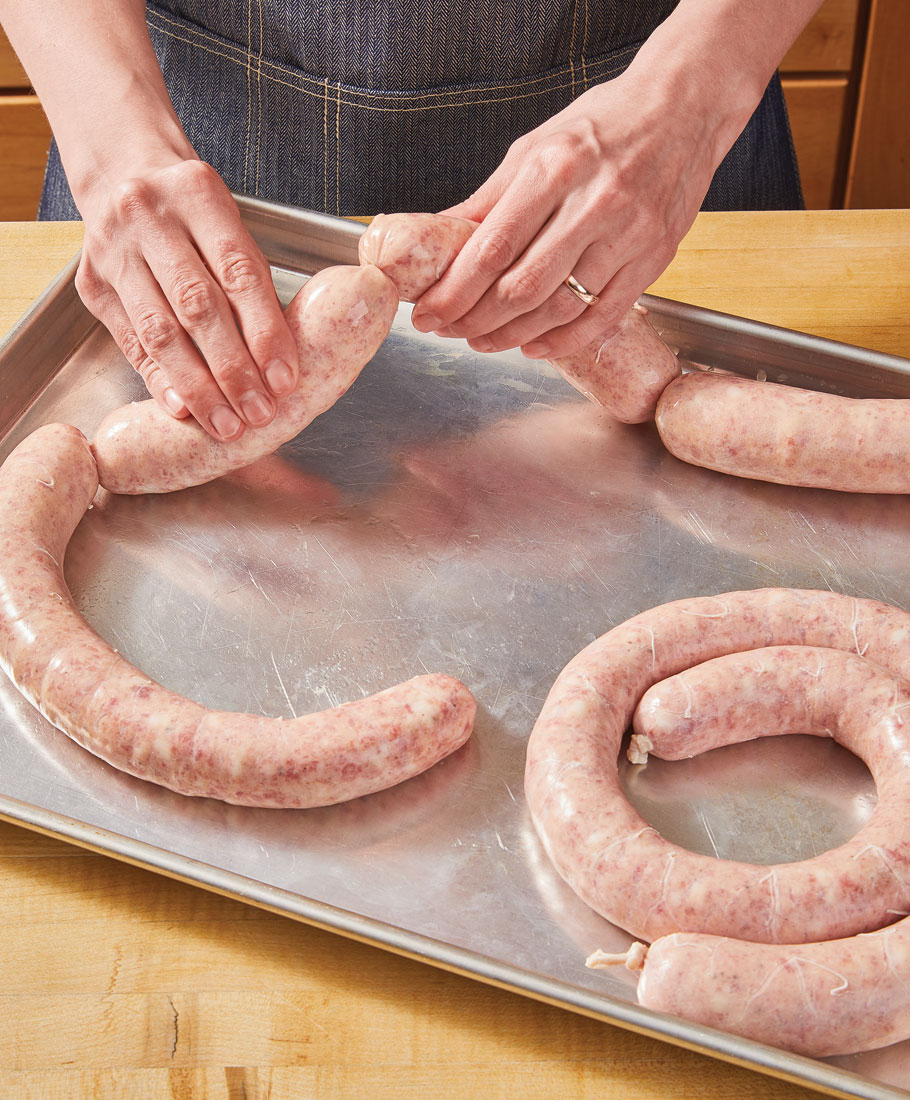 The best way to link the brats is to twist every other brat after measuring the length.
Now, grab our recipe for Classic Bratwurst to make them at home.
Product Recommendations
Interested in cooking? Need some supplies?
Check out some of the tools we like. All products featured on Cuisine at Home are independently selected by our editors; we may earn an affiliate commission from qualifying purchases through our links.