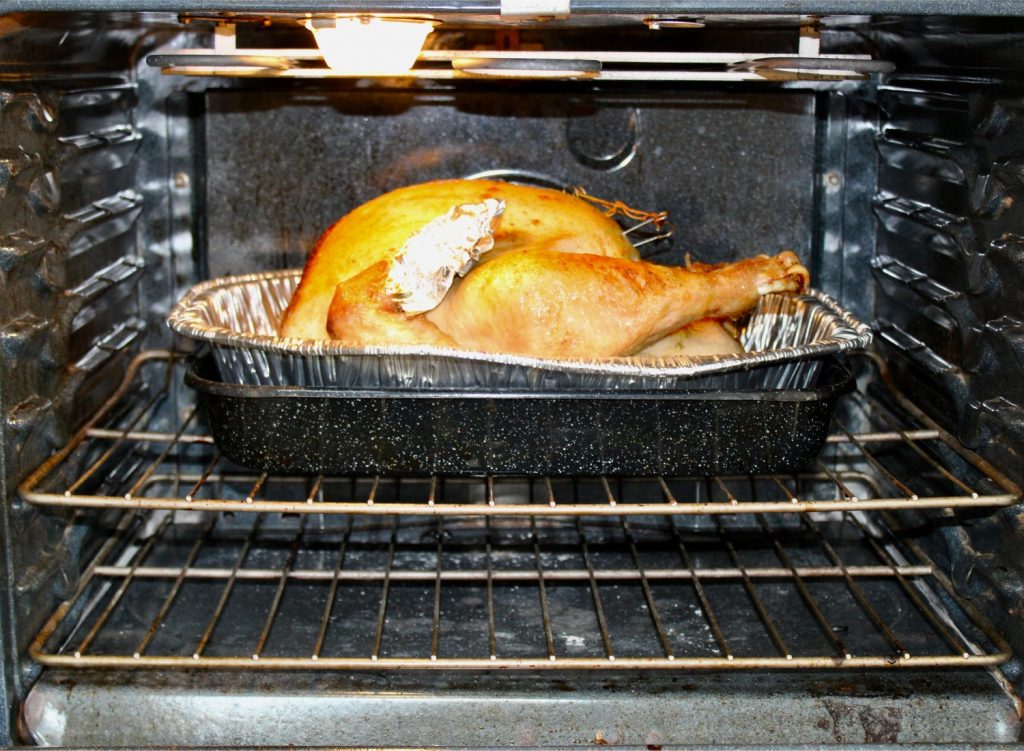
Thanksgiving Done Right: How To Cook a Turkey in a Roaster

Thanksgiving, a cherished time for family gatherings and expressing gratitude, is synonymous with the centerpiece of a perfectly roasted turkey. As hosts and home chefs prepare to welcome their loved ones, the quest for culinary excellence often begins with a search for the ideal turkey cooking method. Cooking a turkey in a roaster presents an enticing solution to this perennial holiday challenge.
With its capacity to simplify the process and guarantee a succulent and flavorful bird, a roaster oven has become a kitchen favorite for many. This comprehensive guide will take you through the step-by-step process of preparing, seasoning, and cooking a turkey in a roaster, ensuring a delightful centerpiece for your Thanksgiving feast. Discover the art of roasting a turkey to perfection and embrace a Thanksgiving that is both stress-free and culinary excellence at its finest.
Preparing the Turkey
Preparing your turkey is a crucial step to ensure a delicious end result. Thawing the turkey properly is the first task. The refrigerator is the safest place to thaw your turkey. Plan on allowing 24 hours of thawing time for every 4-5 pounds of turkey. Thoroughly defrosting the turkey is essential to ensure it cooks evenly and thoroughly.
While not obligatory, brining your turkey can enhance its flavor and moisture. To brine, prepare a solution using salt, sugar, and water. Submerge the turkey in this solution, allowing it to soak in the flavors for 12-24 hours in the refrigerator. After removing the turkey from the brine, rinse it thoroughly and then pat it dry with paper towels.
Once your turkey is ready, it’s time to season it. A classic mixture of butter, salt, pepper, and herbs like rosemary and thyme is a great choice, but you can get creative with your seasonings to match your personal taste. The seasoning will infuse the turkey with flavor, creating a mouthwatering experience.
Cooking the Turkey
Now that your turkey is seasoned and prepared, it’s time to move on to cooking. Preheat your roaster to 325°F (162°C), ensuring the lid is on during preheating. Placing a cooking rack in the bottom of the roaster is essential. This rack elevates the turkey and prevents it from sitting directly on the bottom of the pan. It allows hot air to circulate evenly around the turkey for consistent cooking.
Position your seasoned turkey in the roaster with the breast side facing up. Once the turkey is in the roaster and the lid is closed, it’s time to monitor the temperature. A smart meat thermometer is indispensable for ensuring the turkey cooks to perfection. Insert the thermometer into the thickest part of the thigh, ensuring it doesn’t touch the bone. The target temperature you’re aiming for is 165°F (73.9°C). This temperature is critical, ensuring that your turkey is safe to eat and remains juicy. Keep a close eye on the temperature to avoid overcooking, which can result in a dry turkey.
While some cooks prefer to baste their turkey regularly, a roaster’s consistent heat means basting is optional. The roaster’s enclosed cooking environment keeps the turkey moist without frequent basting.
The cooking time for your turkey depends on its weight. A general guideline is to cook the turkey for approximately 15 minutes per pound. For instance, a 15-pound turkey would take around 3 hours and 45 minutes. However, this is a rough estimate. Always rely on your meat thermometer to determine the turkey’s readiness.
Carving and Serving
After your turkey has reached the desired temperature and you’ve turned off the roaster, it’s time for the final steps. Carefully transfer the turkey to a cutting board, allowing it to rest for about 20-30 minutes. The resting period is crucial as it allows the juices to redistribute, resulting in a juicier and more flavorful turkey.
To carve the turkey, start with the legs, carefully cutting through the skin between the leg and body. Afterward, cut through the joint to separate the drumsticks from the thighs. For the breast meat, begin by cutting along the breastbone on one side and then the other. This creates thin, even slices of succulent turkey. Once carved, arrange the turkey slices on a platter, ready to be served alongside your favorite Thanksgiving sides.
Tips and Tricks
Consider using a roasting bag for those looking to further simplify the process and streamline cleanup. This will ease the cleanup and help keep the turkey moist. You can also enhance the turkey’s flavor by placing aromatics like onions, garlic, and herbs inside the turkey cavity. Experiment with different rubs and marinades to create a turkey that perfectly suits your and your guests’ tastes. Remember to check the turkey’s temperature 30 minutes before the estimated cooking time ends to ensure it doesn’t overcook.
Conclusion
Cooking a turkey in a roaster makes meal preparation more manageable and yields delicious results. Whether hosting Thanksgiving for the first time or simply seeking an alternative approach, a roaster can help you achieve a moist, flavorful turkey that will impress your guests. So, this Thanksgiving set aside the stress of cooking the perfect turkey and do it right with a roaster, ensuring an enjoyable holiday with your loved ones.